Photo Factory 07) Creating Photo Factory Tags
In this article, we will show you how to create and link tags to product in the photo factory.
1
The first step is to click on the photo factory tab in your MyDakis account.
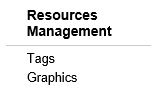
2
Next, under the resources management tab, click on tags. This will bring you to the tag groups page.
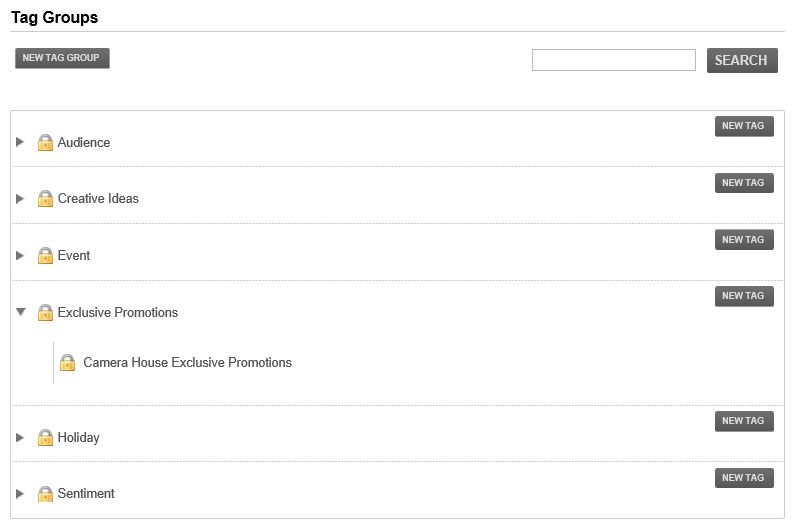
3
Once on the tags page, you will see all the pre-set tag categories. By clicking on them, they will expand and you will be able to see all the tags in this category.
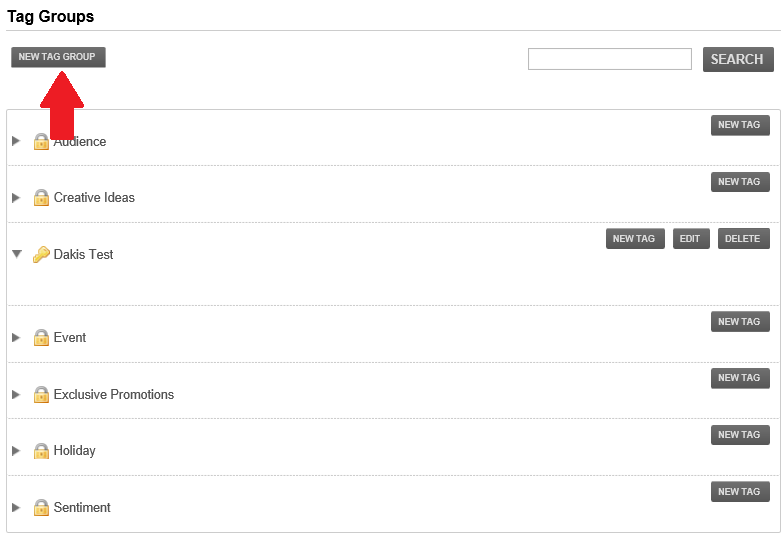
4
You can create a new tag category if you like by clicking on the new tag group button and entering the name of your new tag.
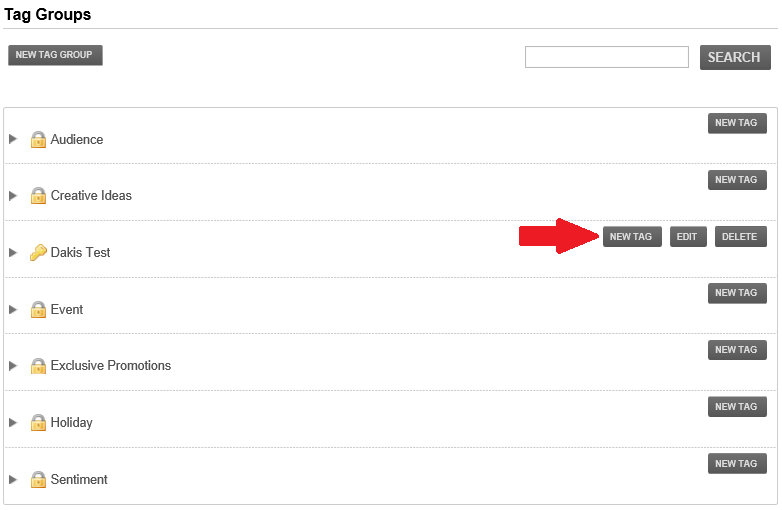
5
You can also create new tags within one of the pre-existing tag group by clicking the new tag button associated with each category.
6
The next thing to do is to enter the name of your new tag.
7
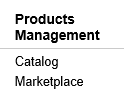
Once your new tag as been created, you will want to go and add products to it. Click on the catalog link under the products management heading to go to your product catalog.
8
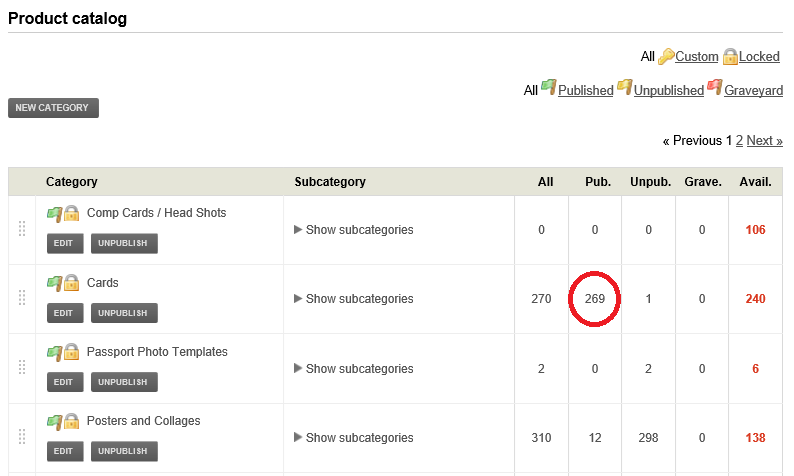
You can now go to your published section of the category of your choice to access your published products.
9
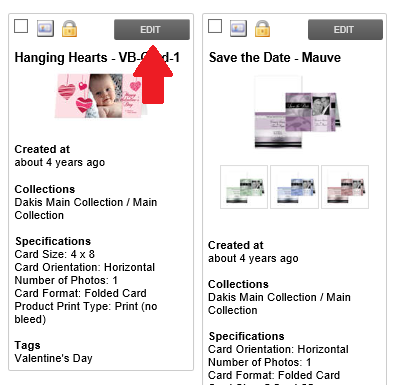
To add the new tag to a product, click on the edit button for the product.
10
On the product page, scroll down till the tags section. Click the edit custom tags button to add your new tag.
11
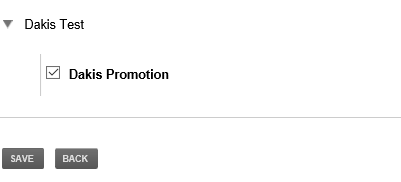
You can then select your new tag by expanding the tag group and checking the boxes for each new tag you want to add. Click the save button and your tags have been added.
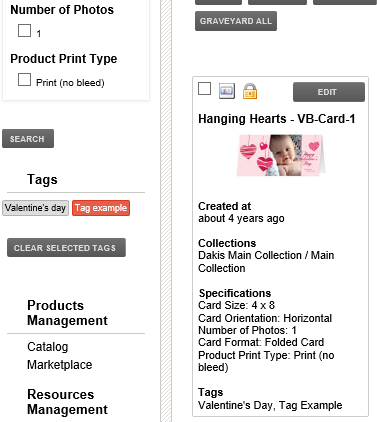
 As you can see, we can now filter the templates using our new tag and only the selected products will appear.


 As you can see, we can now filter the templates using our new tag and only the selected products will appear.