Webstore 09) Importing & Exporting a CSV File of Your Webstore Products
In this article, we will show you how to import and export your webstore products into a CSV file for easier consultation and data modification.
1
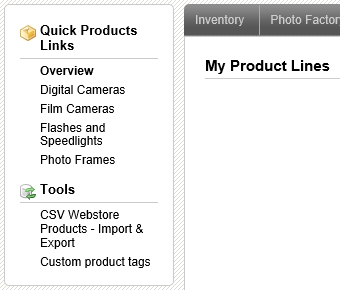
The first thing you will do is opening the inventory tab in your MyDakis account.
2
Next, under the Catalogue / CSV Import and Export, select HARDWARE:
 This will bring you back to the INVENTORY / TOOLS - CSV Webstore Products - Import & Export Menu:
3
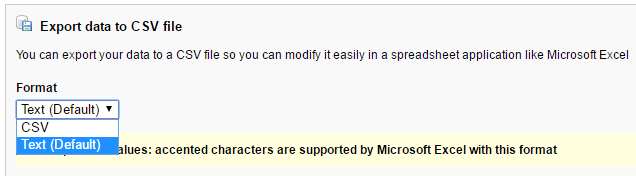
Once on the page you can start adjusting what to export. The first thing is to choose which format to export into. The default text format will allow you to use Microsoft excel to make the changes and the CSV format will be used by scripts and Computyme.
4
You will then have the option to check three boxes. The first will create a column showing the products you had previously deleted. The second will allow you to schedule the export for later. By clicking the edit button, you will be able to change your time zone if it is not correct. The third box will allow you to receive an e-mail confirmation when the file as finished exporting.

5
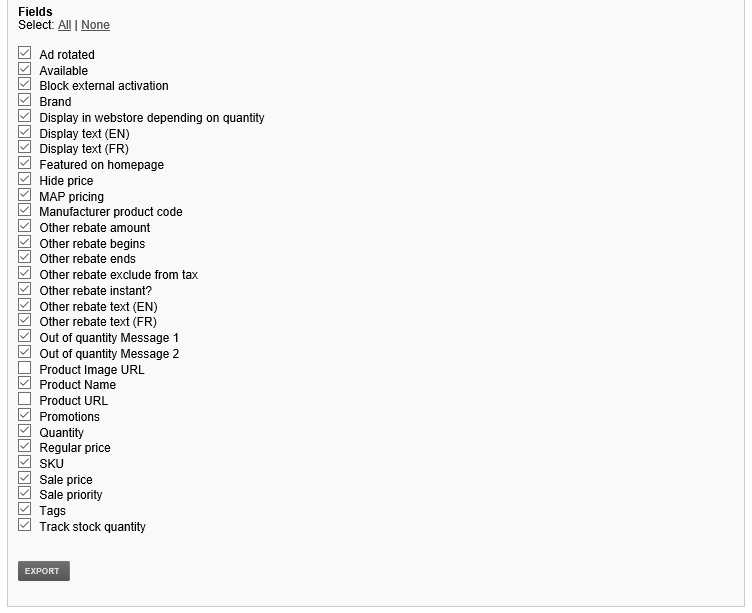
The last thing to choose from before exporting is the fields you want to have in your CSV file. You can select or deselect them by checking or unchecking the box associated with each fields.
6
Once you have selected all your options, click the export button.
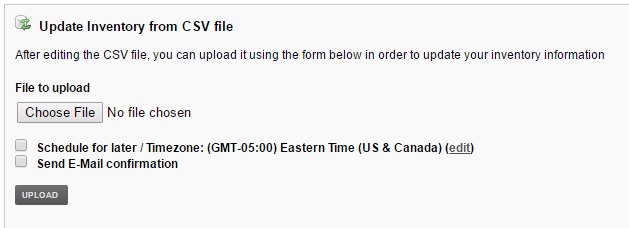
After editing your file in Excel, you can then import it back to your website. This will apply all the changes you have made in Excel to your photo factory.
7
Click the choose file button and select the file to upload
8
You can then select to schedule the upload for later and send a confirmation e-mail as to when the file will be done uploading
9
Once your options have been selected, click the upload button.
 This will bring you back to the INVENTORY / TOOLS - CSV Webstore Products - Import & Export Menu:


