Photo Factory 01A) Creating Custom Folded Cards
To build Folded Cards in the Photo Factory you will need to prepare 3 components
ahead of time in a graphic design software such as Photoshop.
1
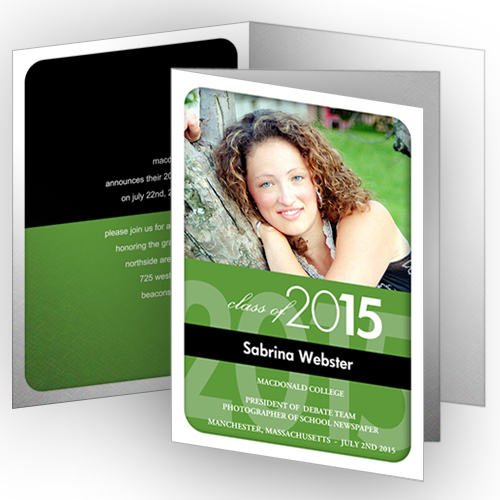
First you will need a Thumbnail with a minimum of 500x500 pixels and a maximum of
1000x1000 pixels and saved as a jpg.
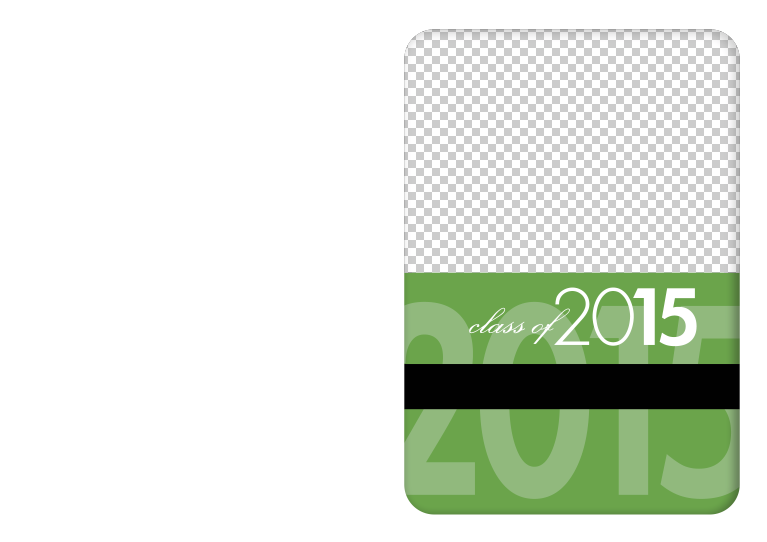
2
Then you will need a Foreground image prepared at 300 dpi and saved as a transparent png in order
to leave holes for the image areas where the user will place their photos to personalize the card.
3
For the inside of the card you will need a Background image prepared at 300dpi also saved as a jpg.

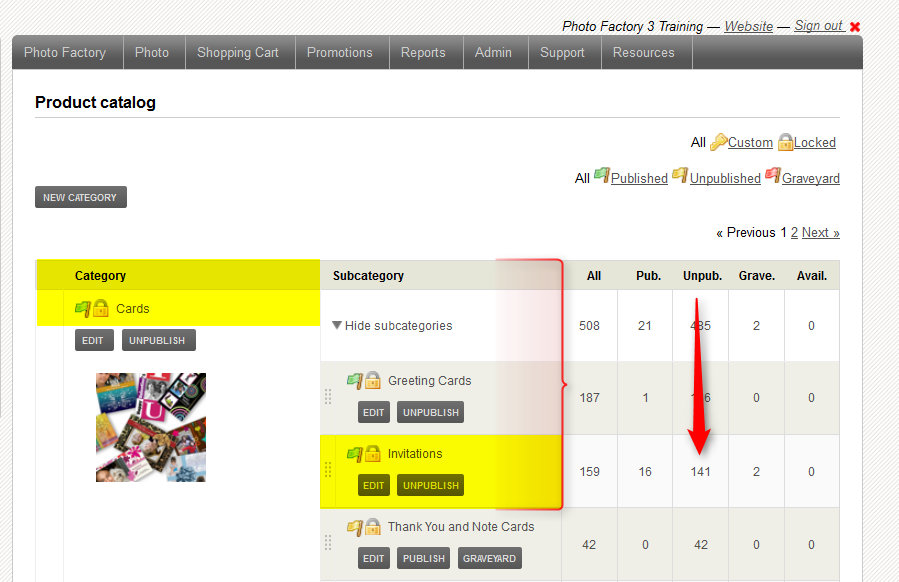
4
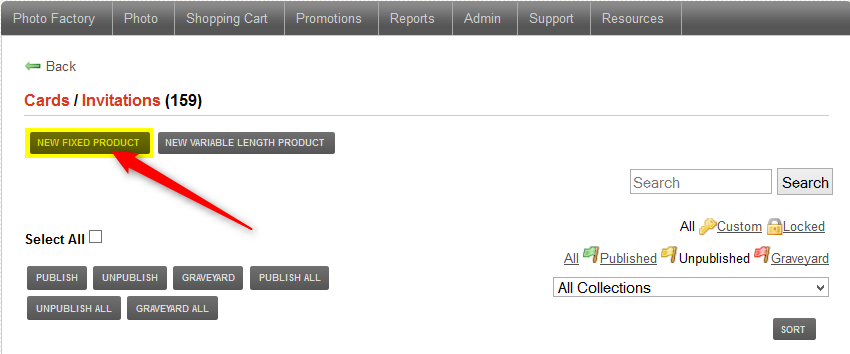
Locate the Category and Sub-category you want your product to appear and
click on the Unpublished number in the Product Catalog environment.
5
Click on the NEW FIXED PRODUCT button at the top of the page.
6
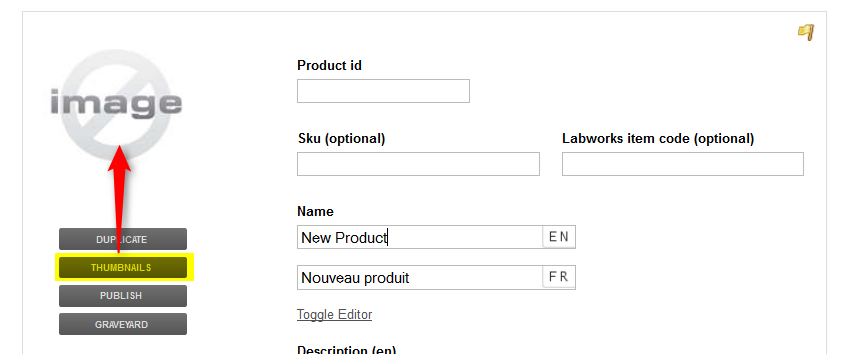
Click on the THUMBNAILS button under the no image default icon.
7
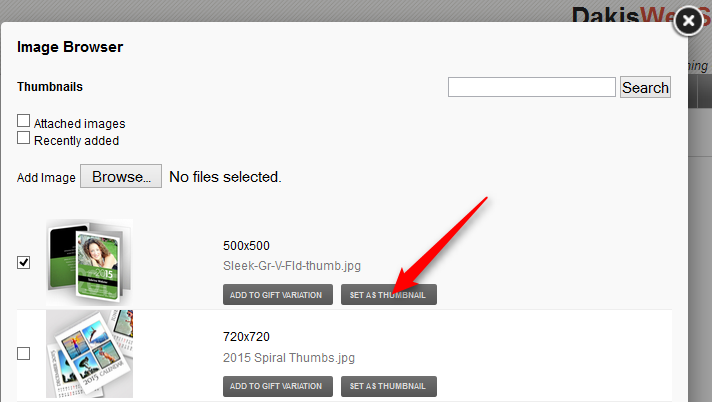
Locate your Thumbnail and click on SET AS THUMBNAIL.
8
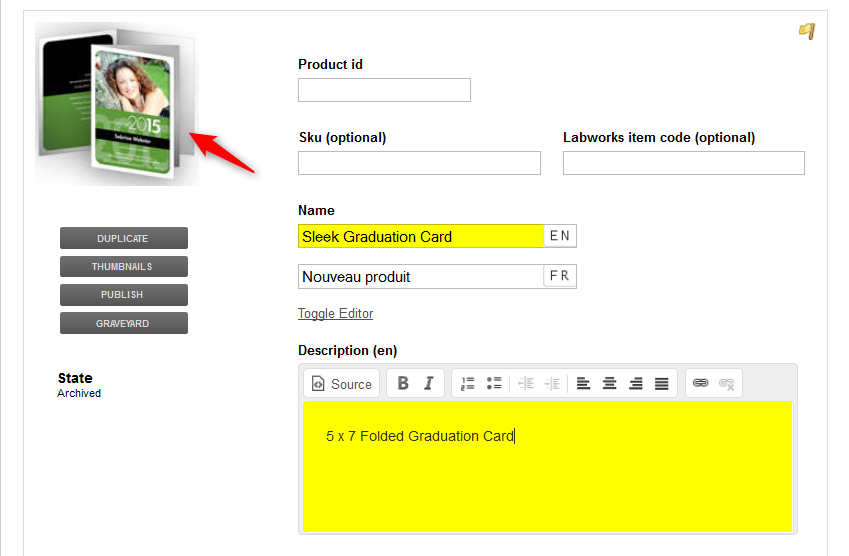
You will see your Thumbnail appear. Add the product Name and Description, scroll to the bottom and SAVE.
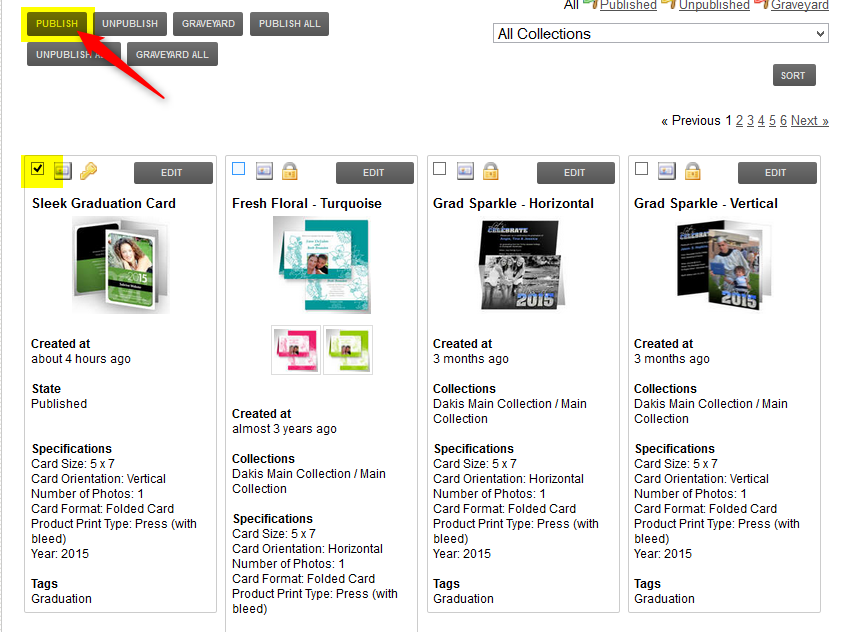
9
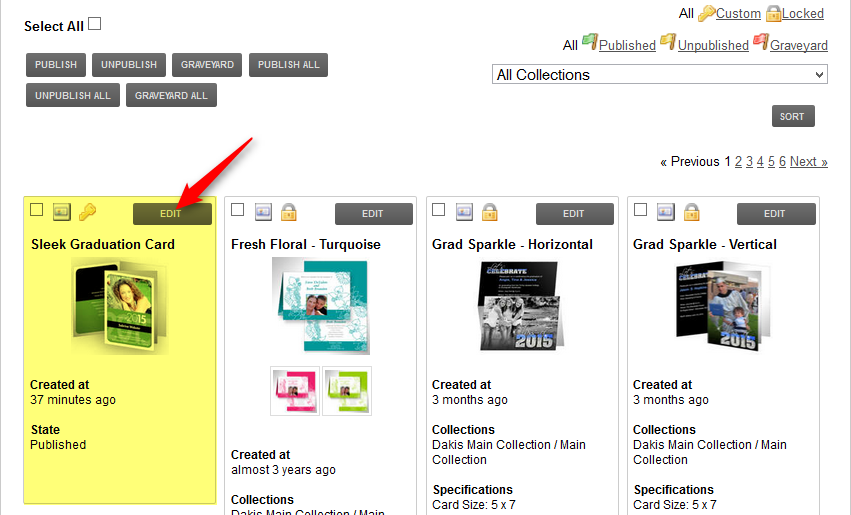
You will see your Custom Product appear next to the other products in your account.
Click on the EDIT button next to your new product, this will bring you back to your Product Creation page.
10
Click on the NEW FIXED PRODUCT button at the top of the Pages section.

11
Under Name enter "Outside of Card". Enter the dimensions of the page including bleed and fold values.
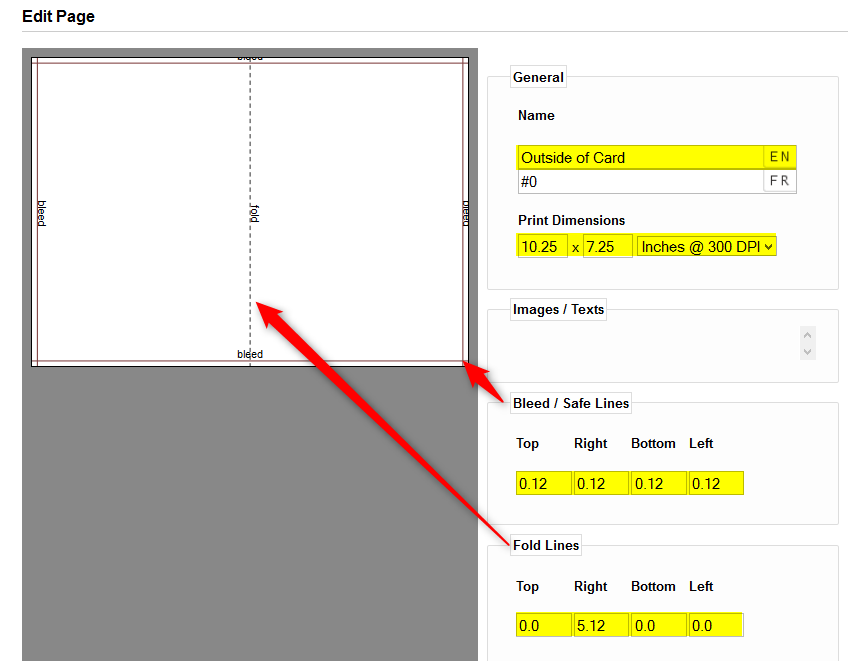
12
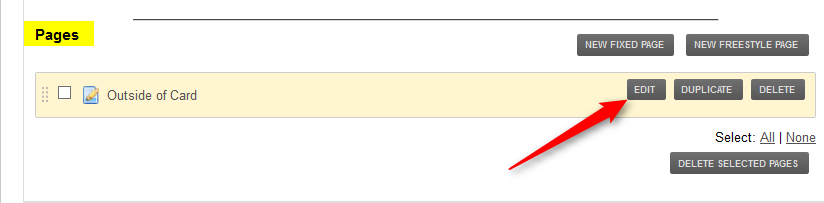
Scroll to the bottom and click on SAVE. Under Pages you will see your "Outside of Card".
Click on EDIT to return to your Edit Page. Click on the Foreground button under the Graphics section.
13
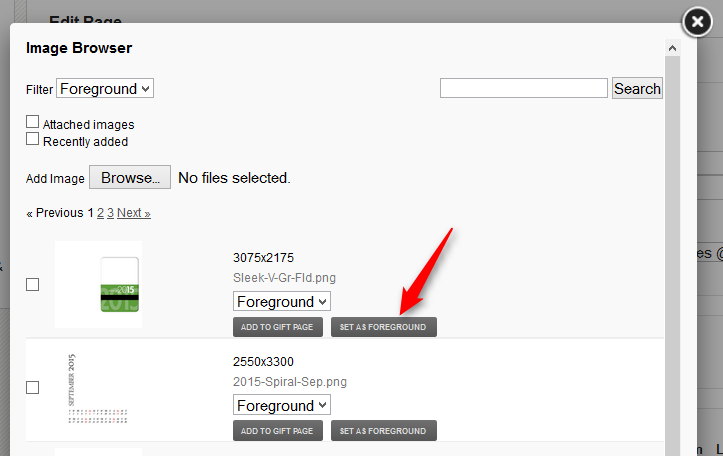
Locate the Foreground PNG and click on SET AS FOREGROUND.
14
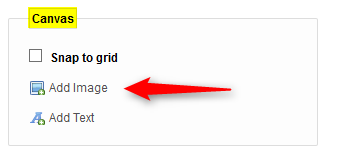
Under Canvas click on ADD IMAGE.
15
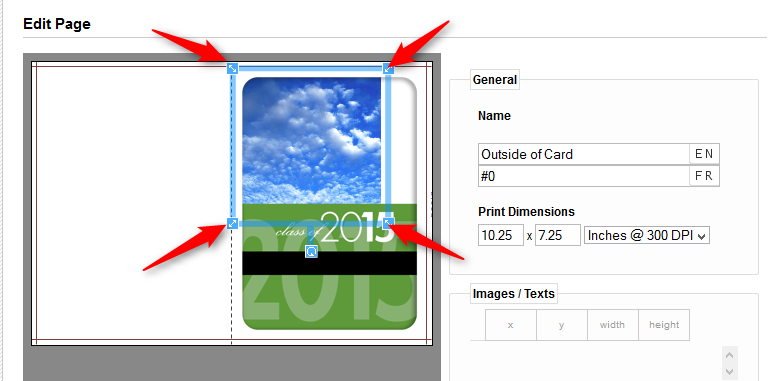
You will see a default cloud image appear on your page. Use the manipulation handles on the four corners to
resize and move it so that it fills the transparent area of your foreground.
16
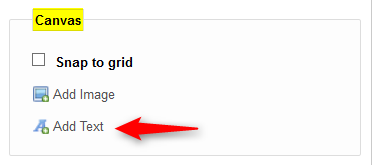
Now click on ADD TEXT under Canvas.
17
Click on the text box to move it where you want and resize the box to cover the area that text can appear.
Add as many image and text boxes that your design requires and SAVE.

18
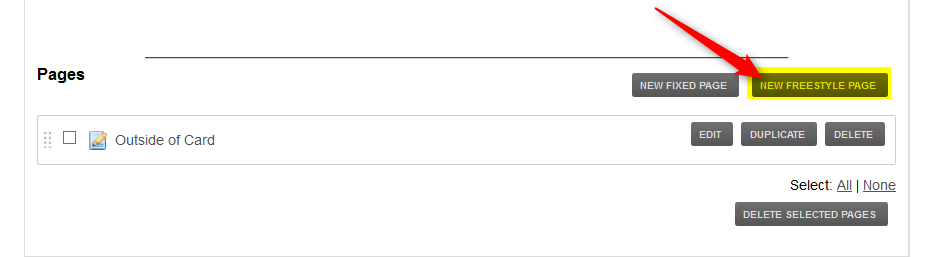
This time click on NEW FREESTYLE PAGE under Pages. A page will appear with the same dimensions as the previous page you built.
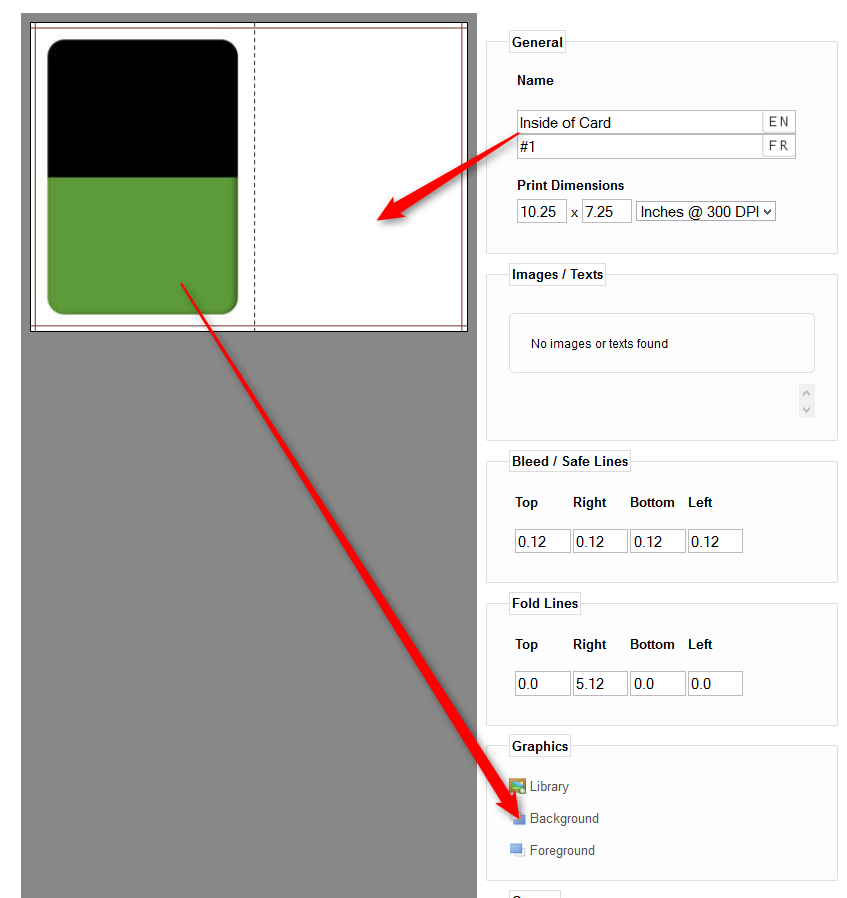
19
Name this Page "Inside of Card" Add the bleed and fold values and acces your background image by clicking on the Background button.
Locate your image and click on SET AS BACKGROUND. Scroll to the bottom and SAVE.
20
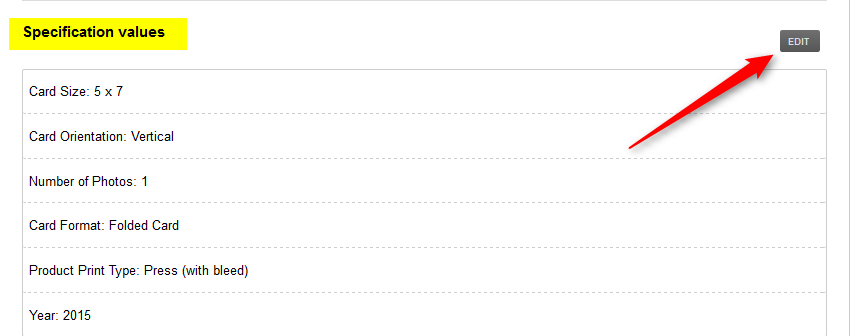
Click on EDIT to the right of the Specification section. Select all the radio buttons that apply to your product and SAVE.
21
Click on EDIT to the right of the Tags section and choose which Tags that will make it easier for your clients to find the right card for the right occasion.

22
Click on SAVE and PUBLISH your Product.