Photo Factory 06) Adding Thumbnails to Products and Options
In this article, we will show you how to add custom thumbnails to photo factory products and to product options.
1
First, go to your photo factory tab in your MyDakis account.
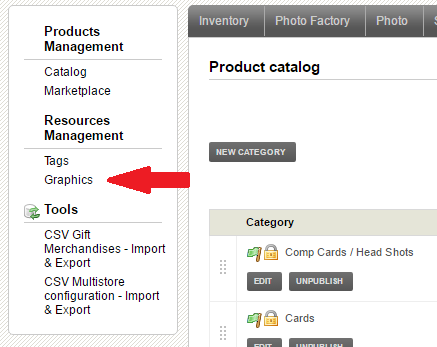
2
Under the resources management tab, click on Graphics. This will bring you to the image browser page.
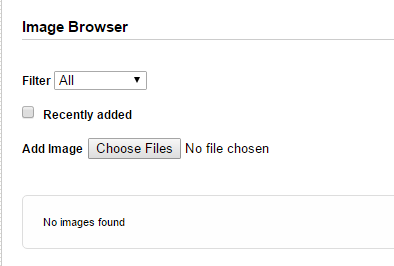
3
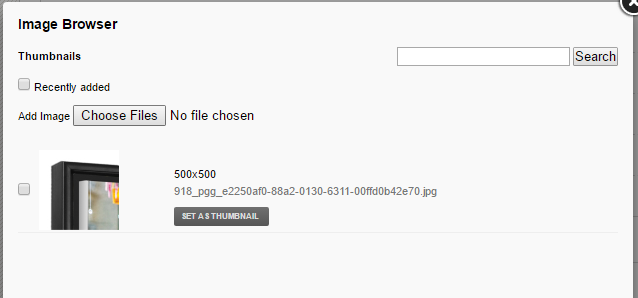
Once you are on the image browser page, you can then add new images by clicking the choose files button and selecting your images from your chosen source.
4
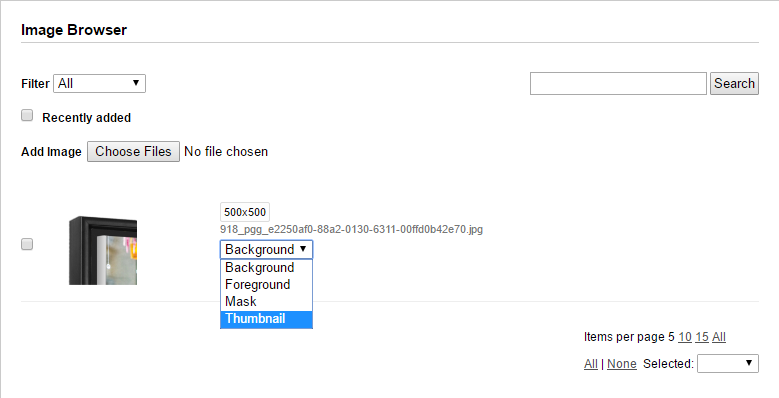
Once your image as been uploaded, you can then go to a product or an option in the photo factory to set it as a thumbnail.
If you wish to use the image as a thumbnail, you will need to use the dropdown menu and select the thumbnail option or else you will not be able to select it later on.
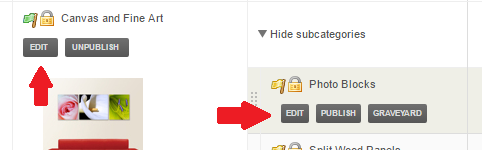
5
To do this, go to a category or to a sub-category and click the edit button. You will then be redirected to the edit category page.
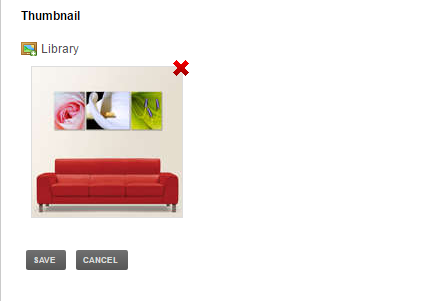
6
Under the Thumbnail heading, you can click the library link which will open your image browser. You can then select the image you had previously uploaded by clicking the set as thumbnail button or upload a new image by clicking the choose files button.
7
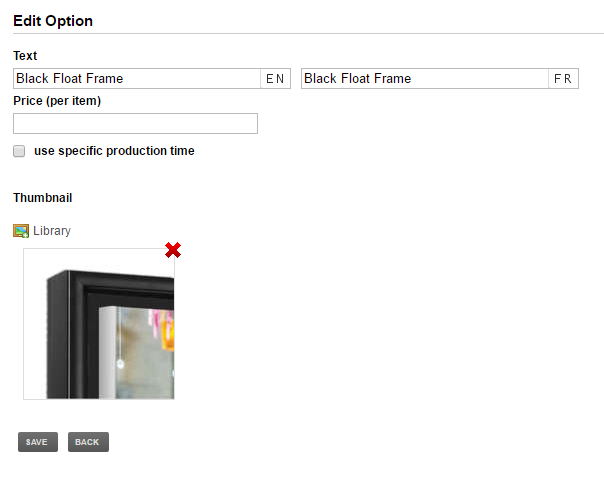
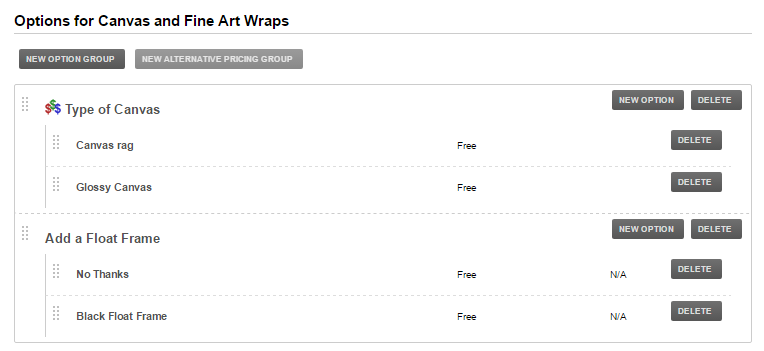
You can do the same for product options. Once on the edit category page, click the edit button beside the options heading.
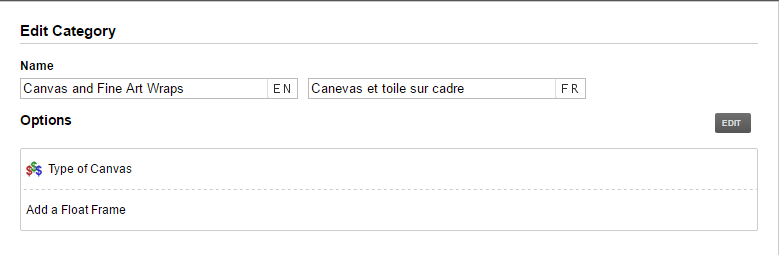
8
You can then edit the option group by clicking on the title or edit specific options by clicking on the description. You will then be redirected to the edit option page.
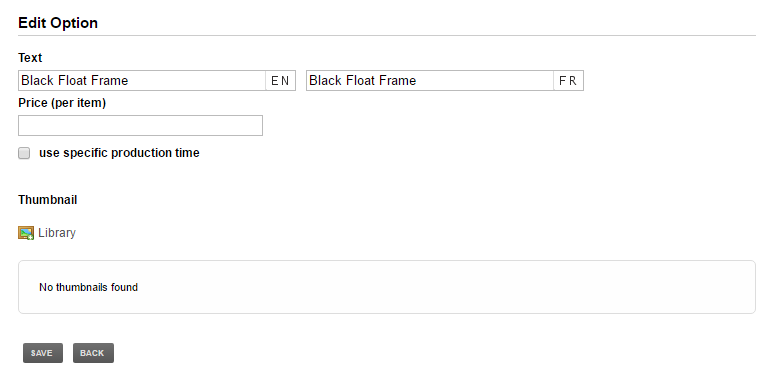
9
From there, click the library icon under the thumbnail heading to open your image browser and select or upload the desired image.
10
Once you are done, click the save button and your option/products will now have the thumbnail of your choice.